Confirm system requirements
Compare your hardware with the simulator's published requirements before buying or installing.
You can start flight simulation with the equipment you already own and upgrade gradually. This guide explains how to choose a simulator style and when extra controls make sense.
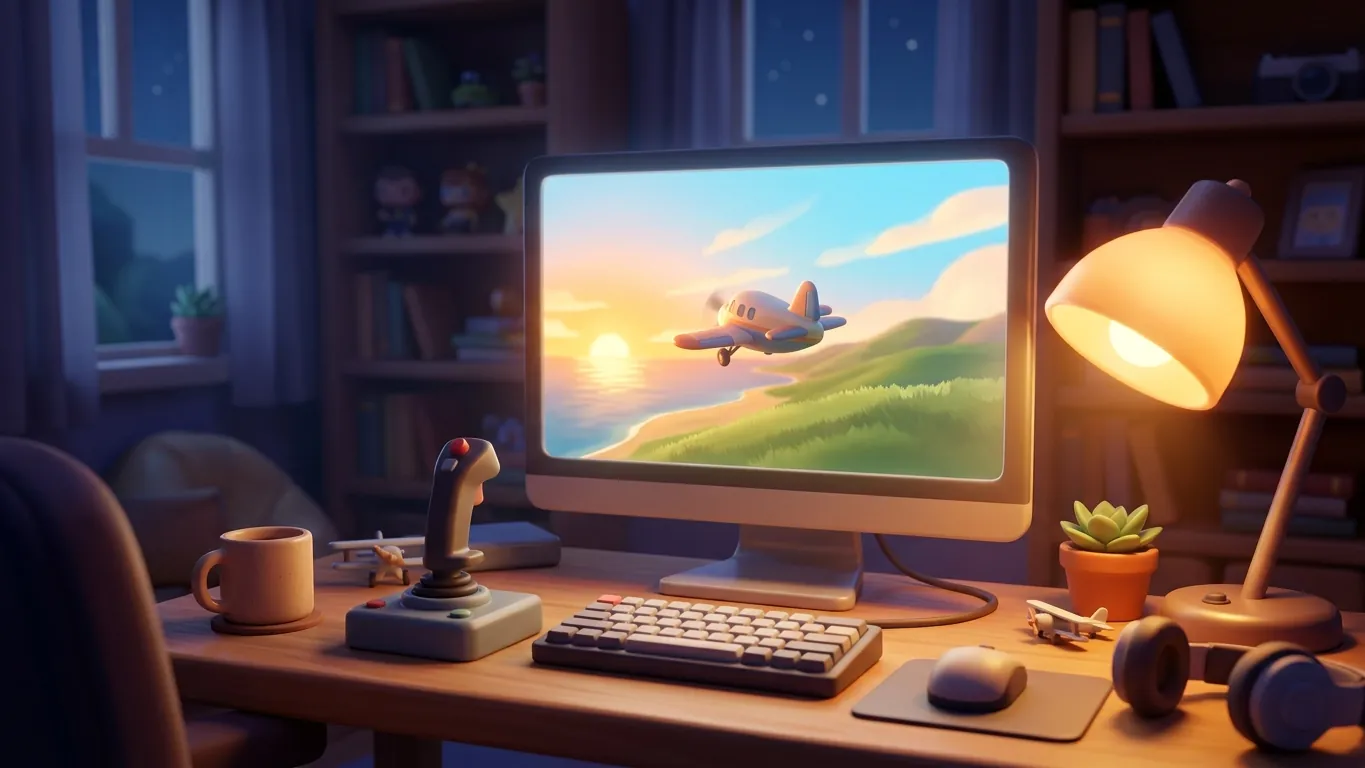
The most common beginner mistake is buying equipment before knowing whether the hobby will stick. Almost every flight simulation game supports keyboard and mouse, and many work well with a standard gamepad. Those inputs are less precise than dedicated hardware, but they are perfectly adequate for learning how a takeoff works, how to trim an aircraft and how to line up with a runway.
Before you spend anything, check that your computer or console meets the requirements listed by the simulator you want to try. Flight sims can be demanding because they render large landscapes, weather and detailed aircraft. If performance is low, lowering graphics settings such as scenery detail, shadows and cloud quality usually helps more than you might expect. Smooth frame rates matter more for flying than visual detail.
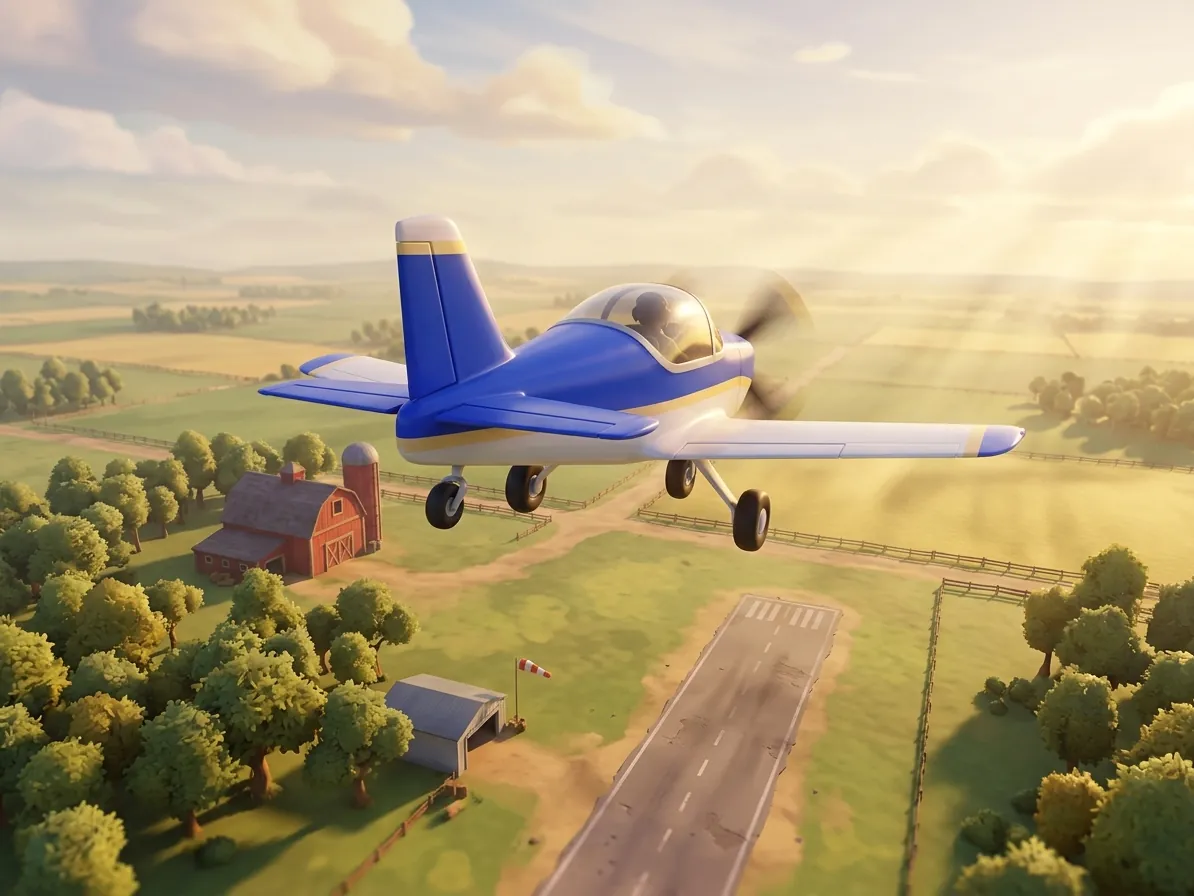
Flight simulation games range from relaxed and accessible to deeply detailed. Accessible titles let you jump into the air quickly, offer assists that keep the aircraft stable and focus on sightseeing and fun. Study-level simulators model systems, procedures and flight physics more closely, which rewards patience but can feel overwhelming at first.
There is no correct choice. If you mainly want to explore landscapes and enjoy the view, an accessible approach is fine. If you are curious about how real aircraft are operated, a more detailed sim will hold your interest longer. Many players start simple, then move to deeper simulation once the basics feel natural. Reading the official descriptions and trying any free demos available is the safest way to decide.
Once you fly regularly, a joystick is usually the first worthwhile upgrade. It gives you proportional control, which means small movements produce small corrections. That makes holding altitude and flying a stable approach much easier than tapping keys.
A separate throttle, a yoke or rudder pedals come later, if at all. Each adds realism and comfort, but they also add desk space, setup time and calibration work. A practical rule is to upgrade only when you can name a specific problem the new device would solve, such as struggling to keep the aircraft straight on the runway, which pedals help with.
Use this list to get airborne without overcomplicating things.
Compare your hardware with the simulator's published requirements before buying or installing.
Pick a single small, slow aircraft and learn it well before trying faster or more complex types.
Assign pitch, roll, throttle and brakes first; leave advanced bindings for later.
Most simulators include lessons that teach basic handling in a structured order.
Flight simulation rewards repetition. Your first landings will probably be rough, and that is normal. Focus on one skill per session, such as straight-and-level flight one day and gentle turns the next. Short sessions of half an hour often teach more than long, frustrating evenings.
Assists such as auto-rudder or stability aids are useful early on. Turn them off one at a time as your confidence grows, so you always know which change made the aircraft feel different. With a simple setup and a patient plan, your first weekend in the virtual sky can be enjoyable rather than overwhelming.
 Joysticks, yokes and pedals explained
Understand flight sim controls: joysticks versus yokes, rudder pedals, throttle quadrants, calibration and dead zones, explained for hobbyists.
Read more
 Flying your first traffic pattern in a sim
Learn the legs of a standard airport traffic pattern and how to practice it in a flight simulator, with common beginner mistakes and drills.
Read more
 Drone basics for weekend pilots
An introduction to hobby drones: common types, flight modes, simulator practice, airspace rules and how to plan your first outdoor flights.
Read more